Detailed instructions for the scissor mechanism and long-suffering “butterflies”.
What you will need
- A compressed air cylinder with a straw or an air bulb for optics;
- isopropyl alcohol (concentration 99% or higher);
- cotton buds;
- tools for removing keycaps: plastic card, thin plastic stick, toothpick or wooden manicure stick, screwdriver or flat makeup spatula;
- bowl;
- water;
- liquid soap;
- Toothbrush.
How to clean your MacBook keyboard from dust
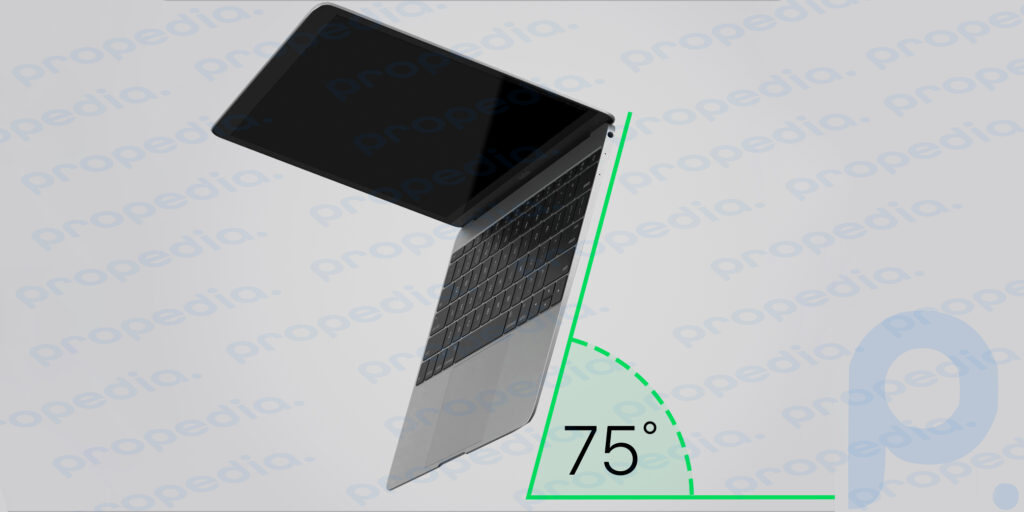
1. Tilt the laptop at an angle of approximately 75°.
2. Blow compressed air through the entire keyboard or just the sticky keys from left to right.
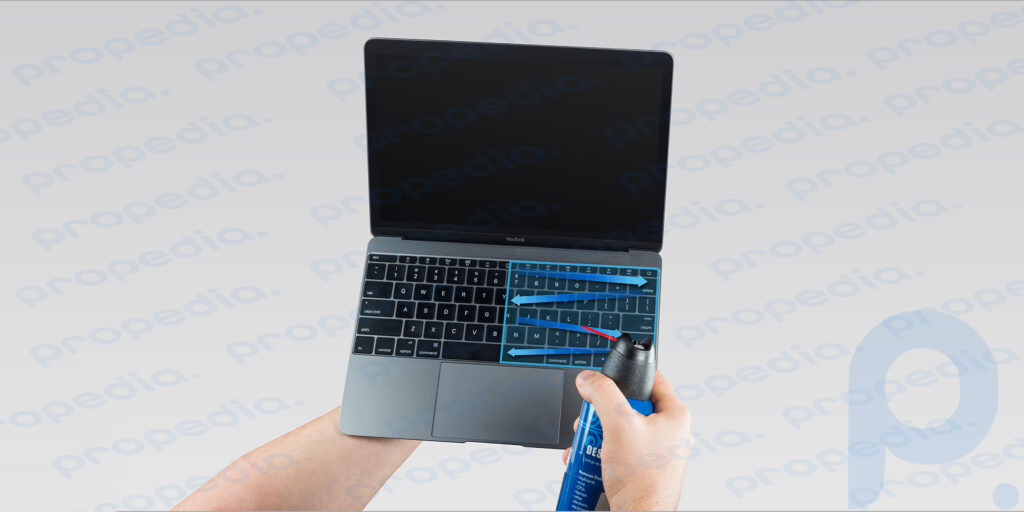
3. Repeat the procedure, turning the MacBook first on its right side and then on its left side. Move from left to right each time.
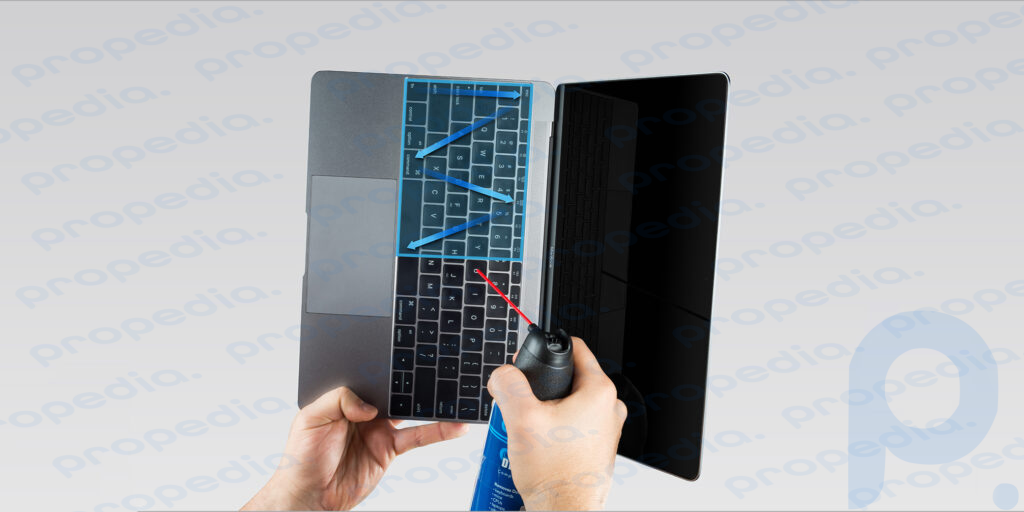
This method is recommended by Apple.
If such blowing does not help, remove the caps from the stuck keys (read how to do this below) and blow from the inside.
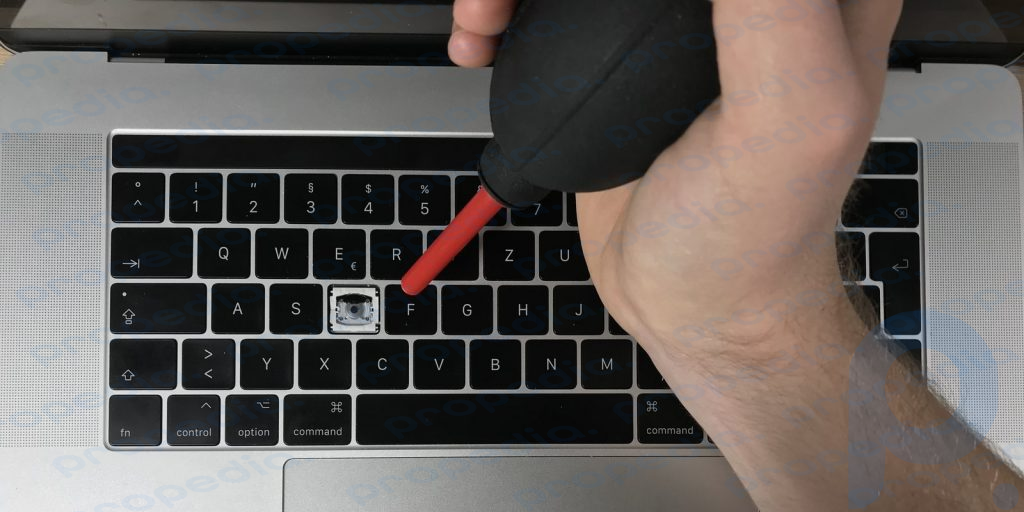
Here it is better to use an air blower: a powerful stream of compressed air can dislodge the mounts or silicone membranes that are found on some versions of keyboards.
How to clean your MacBook keyboard from liquid and dirt
1. Turn off your laptop.
2. Remove the caps from the problematic keys (see instructions below). If the keyboard has been flooded, you need to remove everything in the area of moisture.
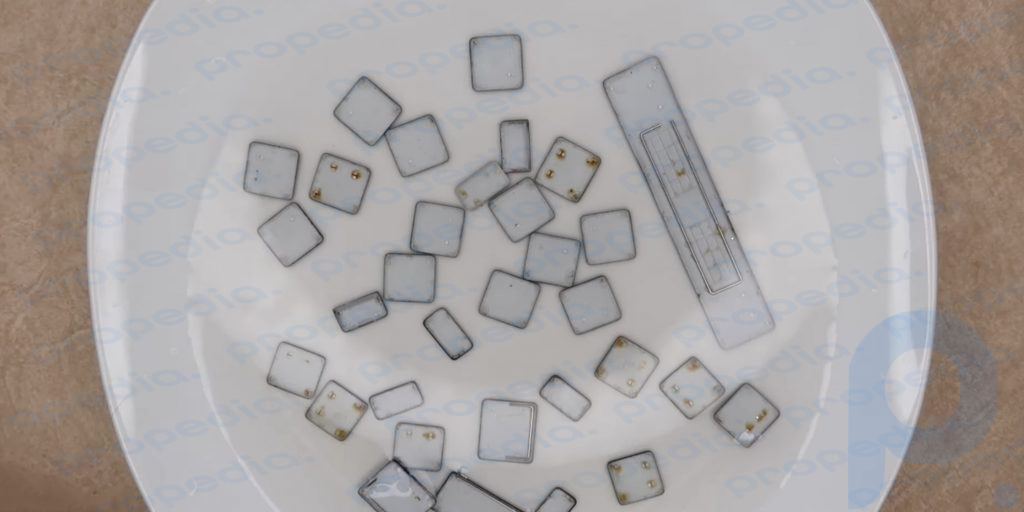
3. Soak the caps in a bowl of clean water: it will dissolve the remaining tea, juice and other liquids. To enhance the effect, add a little liquid soap or gently scrub the elements with an old toothbrush.
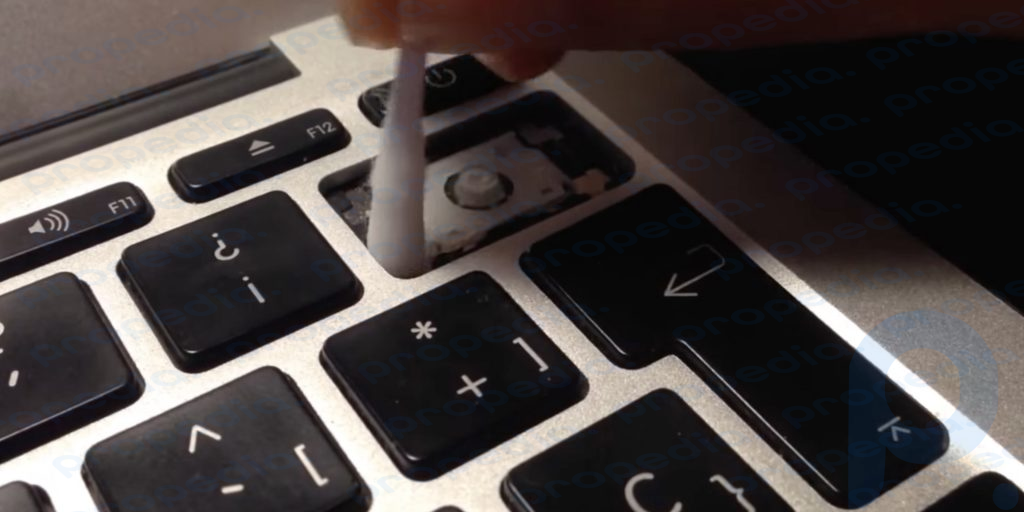
4. Clean the keyboard itself using a cotton swab soaked in isopropyl alcohol. This product will quickly evaporate and will not harm the laptop, but even with it it is better not to overdo it: it is enough for the tool to be slightly damp.
5. Dry the caps thoroughly and replace them.
How to remove keycaps on a MacBook
Different keyboards have their own algorithm.
Scissor keyboards
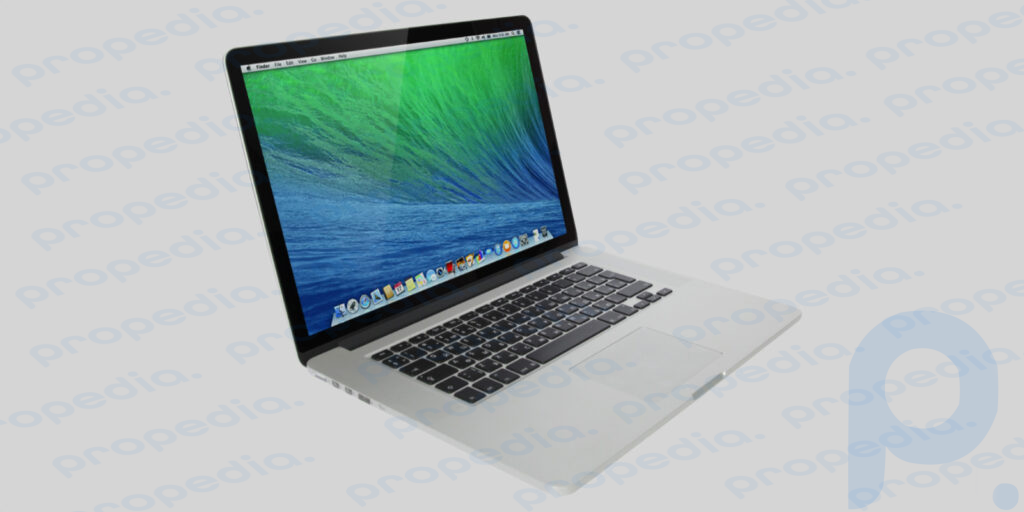
Models:
- MacBook 2014 and older;
- MacBook Air 2017 and older;
- MacBook Pro 2015 and older.
The most common mechanism for laptop keyboards, which got its name because of its shape: the plates under the cover are crossed. Working with it is relatively simple; difficulties may arise only when it is necessary to clean long keys.
Square keys
To remove the letter and number keys (as well as Command, Fn and F1–F12 on some keyboards), you will need a thin flathead screwdriver or spatula, or a toothpick or wooden nail stick will also work. Some craftsmen use their nails, which also works, but removing a few keys without damaging the nail plate is unlikely to work.
Here's what to do:
- Using the selected tool, pick up the key on the right side.
- Use it as a lever to lift the keycap and look into the gap between the key and the metal base of the keyboard. To raise the lid higher, you can press your finger on the opposite side of the key.
- You will see two fasteners on the top and bottom. One of them will be located closer to you (hook), the second - further away (latch). Move the tool to the first latch and gently move it to release the fastener. You should hear it go away.
- Do the same with the second latch (it will be on the same side as the first, but further away from you).
- Grasp the freed part of the cap with your fingers and gently move it up and down so that the plastic unhooks from the hooks without damaging them.
Everything is ready, there is no need to remove the plastic mechanism for cleaning.
To put the cap back in place, do the same steps in reverse: hook the hooks at the top (or bottom if you have a MacBook Pro) and snap the fasteners on the opposite side by pressing down on the key.
Small rectangular keys
Function keys and arrows are removed in the same way as square ones. The nuances are:
- To remove the key, unhook the latches at the bottom and remove the keycap from the mount by sliding it upward with your fingertip.
- To put it back, place the cap just above the attachment point and push it down, engaging the hooks. Then press the bottom until it clicks.
- The down arrow (▼) is an inverted up arrow. The location of the fasteners on it is inverted - accordingly, the latch will be on top and the hooks will be on the bottom.
Command, Shift, Caps Lock and Delete keys
These buttons are reinforced with metal pins, but work on the same principle as standard square buttons.
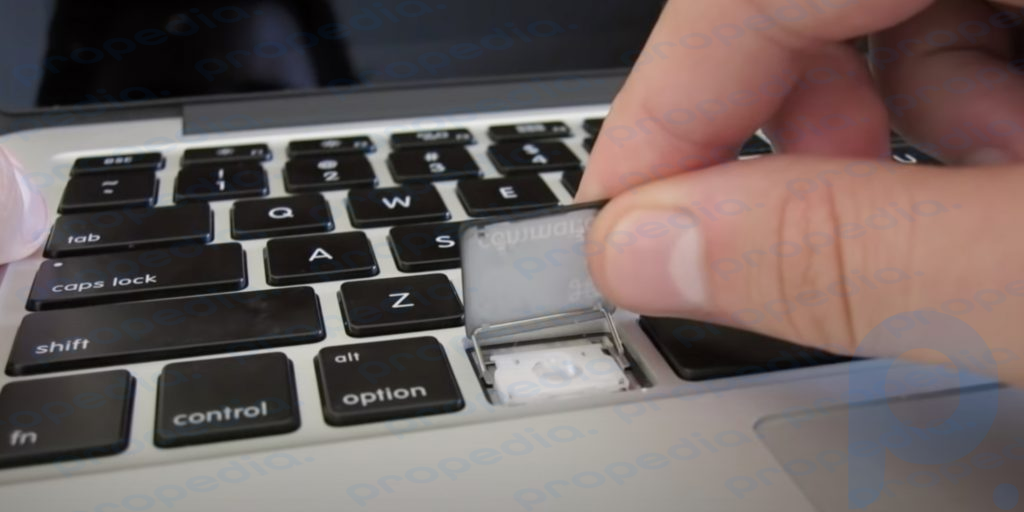
- Place the tool sideways in the center of the key and slide it down to remove the first fastener. For convenience, hold the button in a raised position by lightly pressing the top part with the finger of your free hand.
- Run the tool under the bottom of the key, removing the second side fastener (and the middle one, if there is one).
- Carefully remove the keycap by sliding it towards the screen. You'll notice metal pins coming out of the slots - additional reinforcement for these buttons.
To return the cap to its place, you first need to insert the pins back into the grooves. After this, lower the cap and press on the fastening points to snap them into place.
If you find two pins under the key at once (some MacBook Pro models use this design), use the instructions for the spacebar.
Space
The spacebar is held in place not only by fastenings, but also by a pair of metal pins. It looks scary, but the basic principle remains the same. It is better to work with a metal screwdriver or a flat makeup spatula - the thinner the tool, the better.
- Place the tool on the side (short side) and use it as a lever to lift the lid.
- Look under the keycap and make sure that the screwdriver does not get under the metal pin and plastic mechanism.
- Without pulling out the instrument, move it under the upper long part of the key. Carefully move along the entire side, removing the fasteners along the way.
- Pull the screwdriver out and put it back on the side. Repeat steps 2-3 with the bottom side.
- To remove the central fasteners, drive the screwdriver into the side. Lift the cap and make sure you don't get caught under the mechanism. Push the tool deeper until you hear the sound of the mount being released.
- Repeat the same procedure on the other side and the space will be free.
The space is replaced like this:
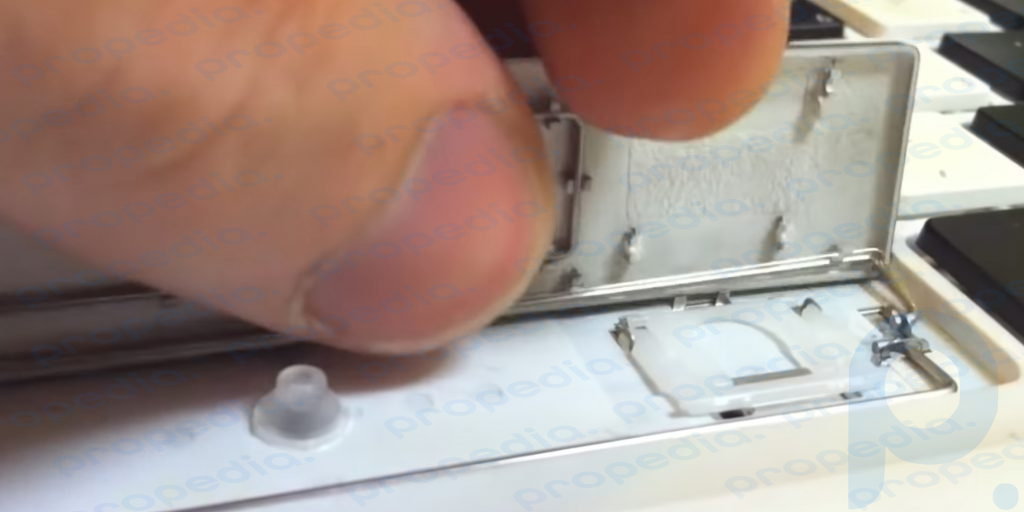
- Place the keycap on top perpendicular to the keyboard and snap the metal fasteners connecting the top pin and the key.
- Lower the key into place and engage the lower fasteners in the same way, without pressing the middle of the button.
- Using two fingers, press the center part of the key where the plastic fasteners are located - approximately 1.5 cm from the left and right edges.
- Press down with both fingers at the same time and slide them down towards the touchpad to lock the plastic mounts in the desired direction. You should hear clicks.
If you did everything correctly, the spacebar will be fixed and will work without sticking.
Butterfly keyboards
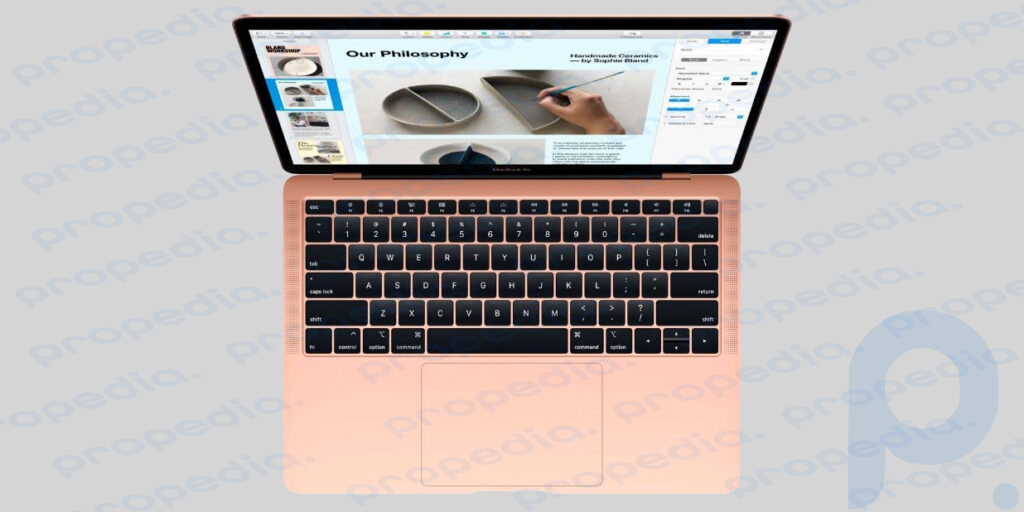
Models:
- MacBook 2015, 2016, 2017;
- MacBook Air 2018, 2019;
- MacBook Pro 2016, 2017, 2018, 2019.
This mechanism debuted in Apple laptop keyboards in 2015 and allowed the devices to be thinner thanks to a compact design. But there is also a serious drawback: users almost immediately began to complain about the accumulation of dust under the key covers, which is almost impossible to clean without disassembling the keyboard.
Of all the MacBook keyboards, butterfly keyboards are the most fragile and difficult to remove yourself. When working, you need to be extremely careful, but it’s still better to be mentally prepared for a visit to the service center.
Here's how to shoot different elements.
Square keys
They pose the least problem. Each has four fastenings - two at the top and two at the bottom, but we are only interested in the top ones.
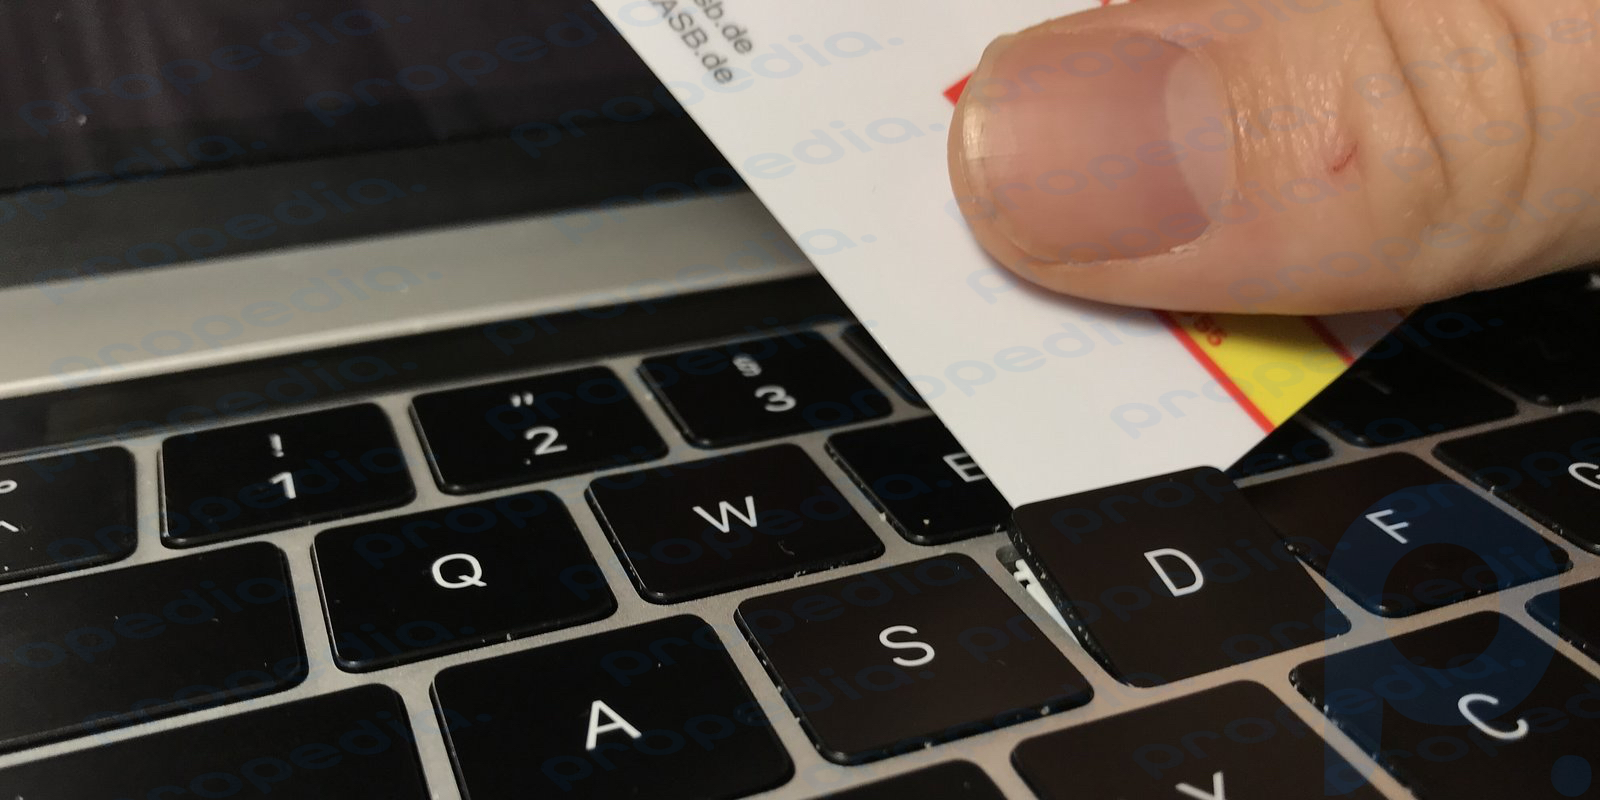
- Use a thin but strong card or piece of paper to center the button cap. Try to hook only the keycap without touching the mechanism inside.
- After making sure the card is above the mechanism, use it as a lever to carefully lift the keycap. Move the tool to the left until you hear a characteristic click - this means that the cap has become detached from the mount.
- Without pulling out the card, swipe right. This should release the second fastener.
- Now place your finger on the key and, without pressing, swipe down. The cap will slide out of the lower fasteners and can be easily removed.
Clean the space under the cover, then install it back. To do this, place it below the place where it should eventually fit, and use your finger to push it up so that the lower fasteners engage. After that, press on top to snap the remaining ones into place.
Small rectangular keys
They are removed according to the same principle as square ones, but it is better to use a thinner tool. It needs to be inserted from the top center and moved to the right until it clicks, after which the button can be removed.
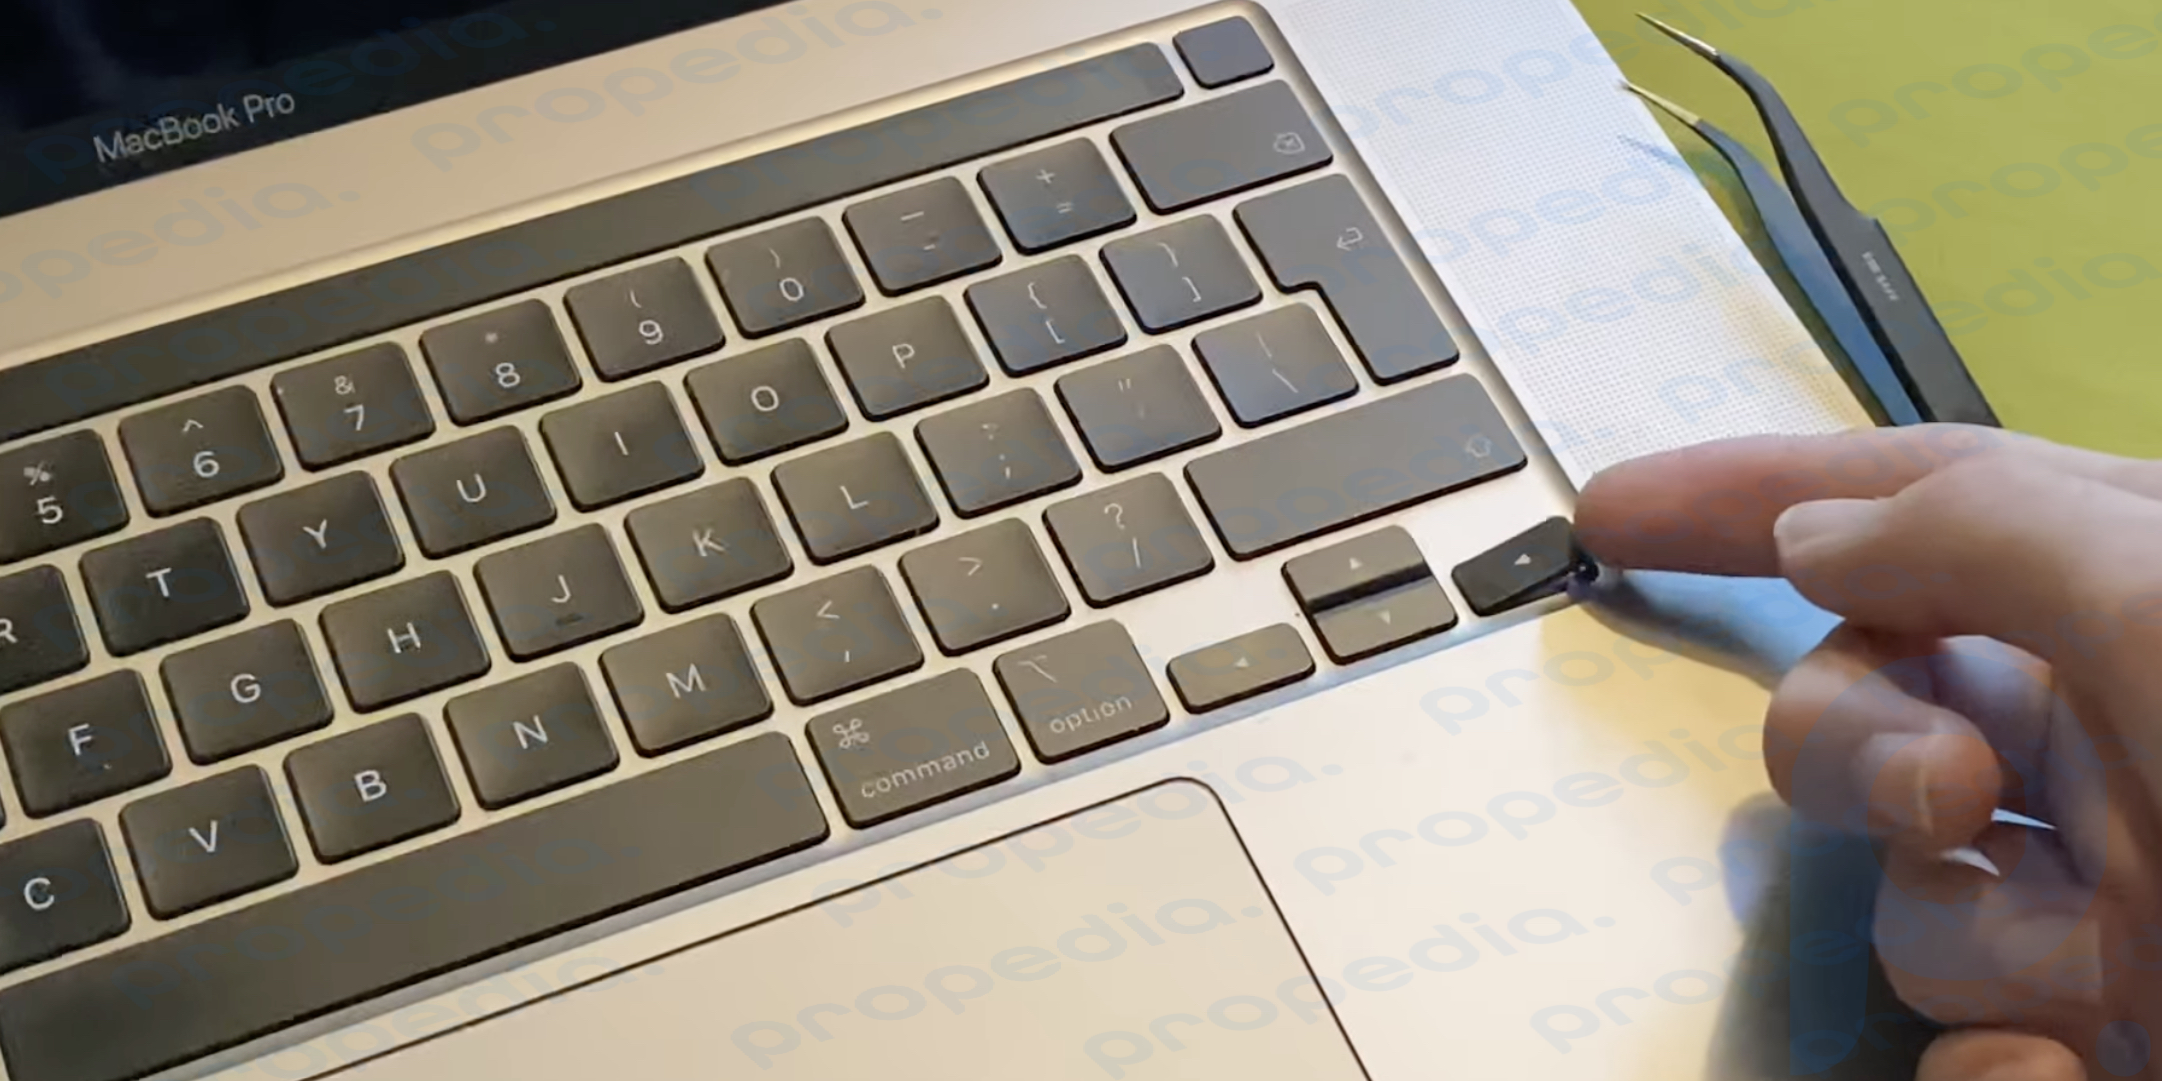
Putting such a cover in place is simple: slide it into the side mount, sliding it from left to right, and press on the right so that the second latch is activated.
Everything in the ▼ button is mirrored, so start the tool from the bottom center and move it to the left. It is also installed in the opposite direction.
Shift, Caps Lock, Tab и Delete
These keys have more latches (three each at the top and bottom for Caps Lock, Delete and Tab, four each for Shift), which makes the task more difficult. On the plus side: here you only need to unclip half of the fasteners, just like the square keys.
To work, you will need a thin object with a blunt end (preferably plastic, but some craftsmen also use metal needles).
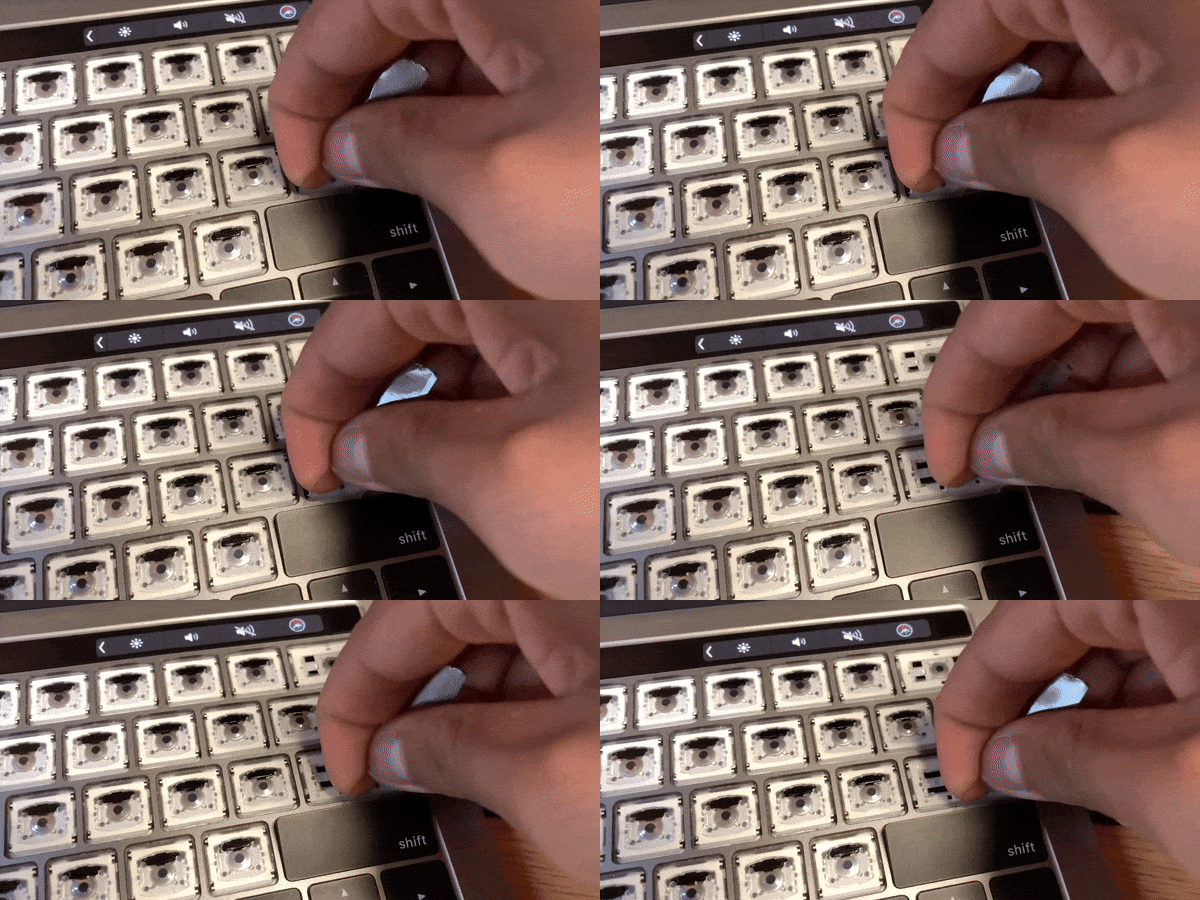
- Insert the tool at the top center of the key. You need to get between the mechanism and the button cover.
- Unhook the top fastenings: first in the center (one for Caps Lock, Delete and Tab, two for Shift), then left and right, sliding the plastic first in one direction, then in the other.
- Usually at this stage the key itself pops out of the remaining mounts. Remove it by grasping it with your fingers on both sides and carefully sliding it down without pressing.
- If the key does not release, move the tool to the right or left side and unhook the side fastening. One should be enough.
The keys are placed in place in the same way as the square ones: carefully insert them into the mounts from below and press them from above over all the latches until a characteristic sound is heard.
Space
The most capricious key: the risk of damaging the mechanism here increases, although the process itself is simpler than with scissor keyboards. Even in Apple services, the technicians do not always cope and break the fasteners (but, unlike repairs at home, in this case they will supply you with a new keyboard at no additional cost). If you are ready for exploits (or you think that you have nothing to lose), follow the same principles as when removing Caps Lock and Shift.
- Lightly press the top of the key to be able to insert a thin tool from above the edge of the key (you can start from the side to make sure you don’t miss the fastener).
- Try to make sure that you do not drive the tool under the mechanism. Then continue to carefully move the stick from left to right, unhooking the fastenings. There will be four of them in total.
- Wrap your fingers around the key and gently move it up and down until it comes free from its mounts. Due to its size, the space bar is more reluctant to do this than Caps Lock and Shift.
If you have removed the gap and made sure that the fastenings are not damaged, you can clean the space under the keycap and return it to its place. This is done using the already familiar method: grab onto the lower fasteners and press the latches on top.
Magic Keyboards
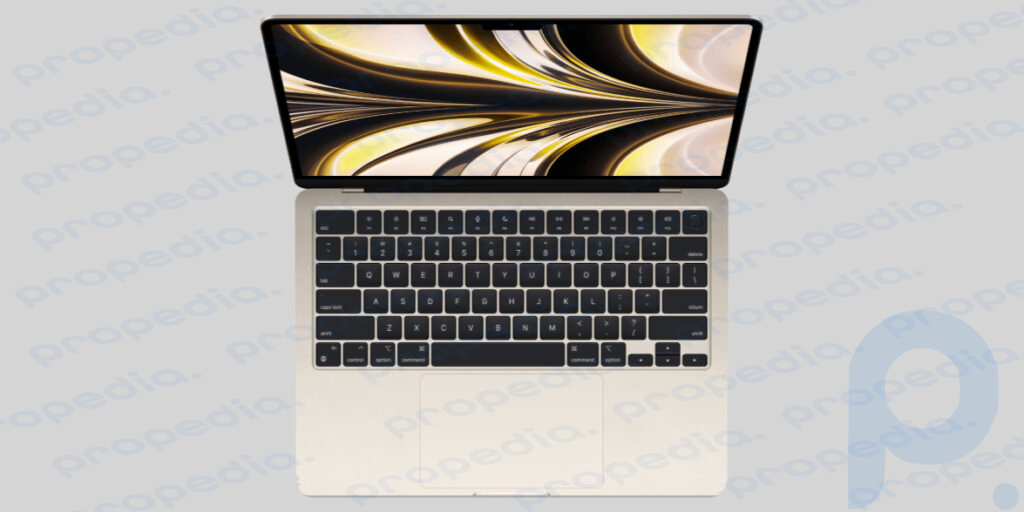
Models:
- All MacBook Air and Pro with Apple Silicon processors (M1 and later).
Magic Keyboard is essentially Apple's return to the scissor mechanism after unsuccessful experiments with “butterflies”, which were presented along with the first models on the M1 processor. This design is not fundamentally different from the older “scissors”, so you can follow the same instructions. There is only one nuance: in new models, the fastening latches are always located at the bottom, and the hooks are always at the top.

